How To Dump Your Xdk Nand + Preservation Of Undumped Recoveries
Table of contents
IMPORTANT - MAKE SURE YOU DUMP YOUR HARDDRIVE BEFORE FOLLOWING THIS GUIDE!!! YOU HAVE BEEN WARNED!!!!
Intro
Just a small guide for XDK nand dumping, but this is a start of a base for a bigger thing that I want to do: undumped XDK version preservation.
List of publicly XDK recoveries is quite huge, some even have beta dashboards in them (take 11026 for example), but many are not dumped as well! A few years ago one console with version 8985 which made me interested in doing all this: not only this version was not present in any known remote or disc recoveries, but it also was an internal dashboard (has debug entries in menus), and it uses SF and SG bootloaders! (that is a huge thing which I will talk about sometime.)
Anyway enough talk, let’s get to work!
Preparations
This guide assumes that you have XDK and neighborhood installed and console connection set up. If you have not, this guide should cover that.
IMPORTANT - Ignore XeXmenu (or any plugin installation) requirement, you only need to find console IP address and connect over ethernet.
While this is optional, I heavily recommend setting up KDNet as well, in case shadowbooting goes wrong. You can use this guide made by Byrom for that.
Anyway, after everything previously mentioned is set up, you’ll need to download these files:
After this we may proceed to the:
Console side of things
1. Dumping NAND
First of all, dump your NAND. To do this, you’ll need to unpack previously downloaded Simple Nand Flasher, and copy it over to your console HDD. Recommended path is HDD:/Devkit/ as then Xshell would pick it up. To dump your NAND, follow this guide.
Follow from 7:24 to 9:20, after that, go back to this guide.
After dumping, copy out your NAND to your computer using neighborhood.
Dumper did not launch? go to FAQ.
2. Shadowbooting RGLoader
Follow this guide to set up RGLoader shadowbooting. After successful boot, come back here.
Console does not shadowboot? go to FAQ.
3. Acquiring CPU Key
Copy over Xell Launch files to your console (recommended path is still HDD:/Devkit/). Now, simply launch it with default.xex and wait until it shows this screen:
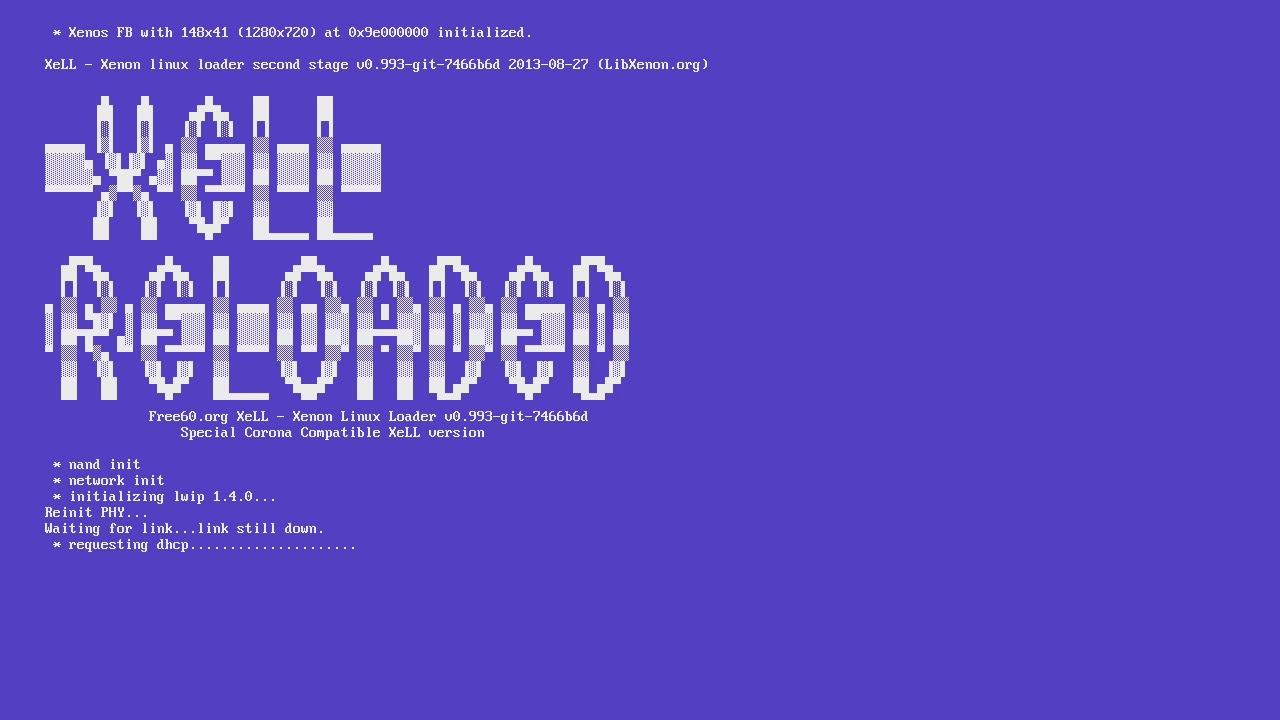
Now, either write down the CPU key that is provided, or connect to console’s IP address in browser, and copy it out of there.

After getting the key, I highly recommend verifying that it is correct by loading NAND image in JRunner.
If everything is correct, you may reboot the console, and remove all files you copied over while following ths guide.
A huge request
As I mentioned before, preserving undumped XDK revisions is also important, so I am asking for Your help. Try to Identify, which version you have - maybe it is already dumped, or is present in recoveries? There is a list compiled thanks to a cool person klonopin - which you can find here. Make sure to check both remote and ISO recovery sections - some are available in only one of them.
You can’t find matching flash+XDK version your console has? Good! Please contact me through any of social medias I have linked here.
Your version is in the list? Don’t worry, maybe your dashboard is internal? To check for this, try going to Console Settings, and scroll down to System Information:
 If you find something like this, please also contact me through any of social medias I have linked here.
If not, you are safe to update, or do anything you want.
Your contributions may help in discovering new things! I will soon write an article about some.
FAQ
My console does not launch “Simple NAND Flasher”, what should I do?
- While in my experimentations it worked as low as dash version 6719, there may be several problems - try re-downloading or re-copying files onto the console, if that does not help, try dumping with Xell webui, or another tool, like Nand flasher.